


Find local pros for your project
Tell us what you’re looking for and we’ll show you pros right for the job, with prices.
Updated
By Evan Crowther
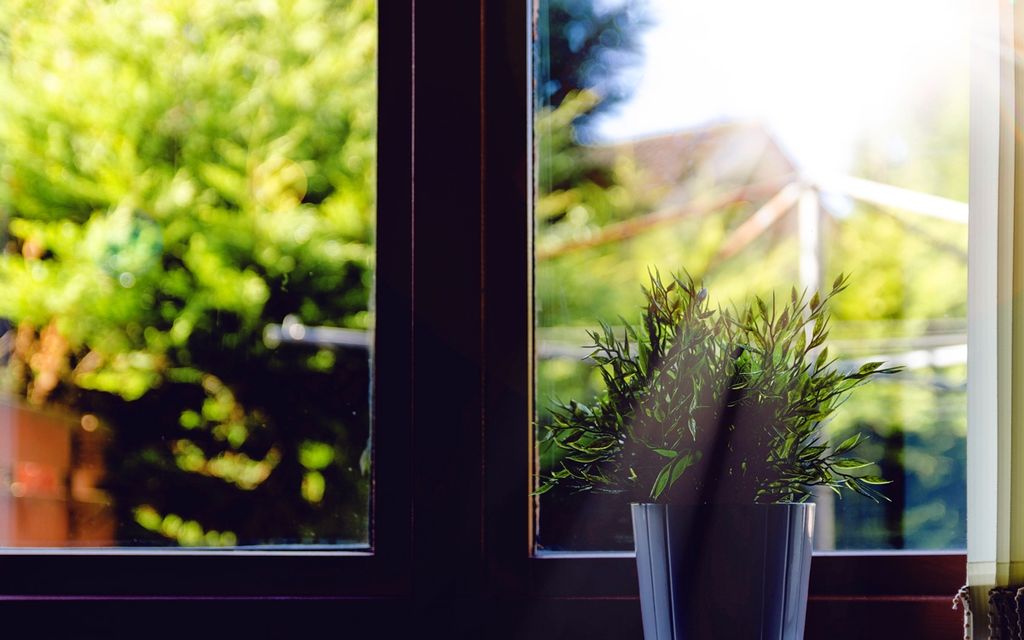
In older homes, it’s common to see wooden window frames. These frames are durable but can degrade and rot over time. Rather than installing new windows, you may opt for window capping.
Your windows are a crucial part of your home’s aesthetic and can even play a role in its energy efficiency. Whether window capping is right for your home depends on several factors. In this guide, we’ll explain everything you need to know about window capping.
In the same way a crown protects a damaged tooth, capping a window protects the worn frame from further deterioration.
Also called "window cladding," window capping is an alternative to completely replacing a window’s exterior trim. The additional layer of protection can conceal worn trim and protect the trim from the elements. With window capping, you can extend your window's lifespan and reduce the amount of maintenance it needs.
What's the best material for window cladding or capping? There are several window capping materials to choose from, but aluminum and vinyl are the most common. In some cases, fiberglass or composite caps may be an appropriate option:
Capping your window offers several benefits for homeowners. Besides extending your windows’ lifespan, capping also imparts aesthetic and functional advantages.
One of the main benefits of capping your window is the added durability. The capping material acts as a protective barrier against sunlight and weather. This extra layer reduces the risk of rotting, warping, and water damage, particularly with older exterior wood trim.
In addition to added durability, capping can make your windows more energy-efficient. Caps can help seal gaps and provide better insulation, which aids in maintaining a consistent indoor temperature. This can reduce the strain on your heating and cooling systems and even lower your energy costs over time.
Because window caps are more durable than traditional window trim, they don’t need as much maintenance. Unlike wooden trim, you don’t have to worry about refinishing or painting a cap nearly as often.
This project can also add some curb appeal to your home’s exterior. Different materials and colors allow you to tailor your window trim to your home’s style. Choose a bold color for an eye-catching detail, or something low profile for a classic look.
In some cases, window capping may help you sell your home faster or for a higher price. The sleek look of a capped window helps your home stand out, which can help you find buyers when it comes time to sell your home.
Capping your windows is an alternative to complete replacement. When you replace window trim, the old materials usually get discarded. Opting for window capping is an environmentally friendly way to reduce material waste.
Before you decide to cap your windows, there are a few things you should consider.
The cost of window capping varies based on factors like your windows' size and the capping material you choose.
Taking the DIY route may seem like a good way to save some money on the project. However, hiring a professional can reduce the financial risk. Professionals typically have insurance and warranties.
Timing is another factor to keep in mind. A professional window-capping project usually takes a day or two, depending on the scope.
On the other hand, DIY window capping will likely take longer — especially if you're unfamiliar with the process.
Improper installation can lead to issues like moisture getting trapped. This can lead to mold, decay, and siding damage. This is another reason you shouldn’t take on window capping if you’ve never done it before.
Capping your windows also doesn’t fix issues with the underlying trim. If you have any mold or rot, you have to fix that problem before you can cap your window.
What you need:
Then, follow these steps:
Step 1: Assess the condition of the existing window trim. Fix any issues like rotting or water damage before you start capping.
Step 2: Measure and cut the capping material. Accurate measurements are crucial for this project, as the corners have to be perfectly flush. Measure the length and width of each window carefully, allowing a slight overlap for effective coverage.
Use a saw to cut the capping material to the required dimensions at a 45-degree angle.
Step 3: Use an adhesive or fasteners to secure the capping material onto the window trim. Make sure the fit is snug and the finish is smooth.
Step 5: Apply finishing touches and maintenance. Seal any gaps with caulk to enhance weather resistance. Check the product manual for the best method for sealing the cap.
Window capping is almost always a job for professionals. Window installation and repair technicians are generally the most qualified.
Download the Thumbtack app today to get a free quote on window capping.
Yes, you can apply window capping to existing windows. Capping is a great way to refinish older windows without having to replace them completely.
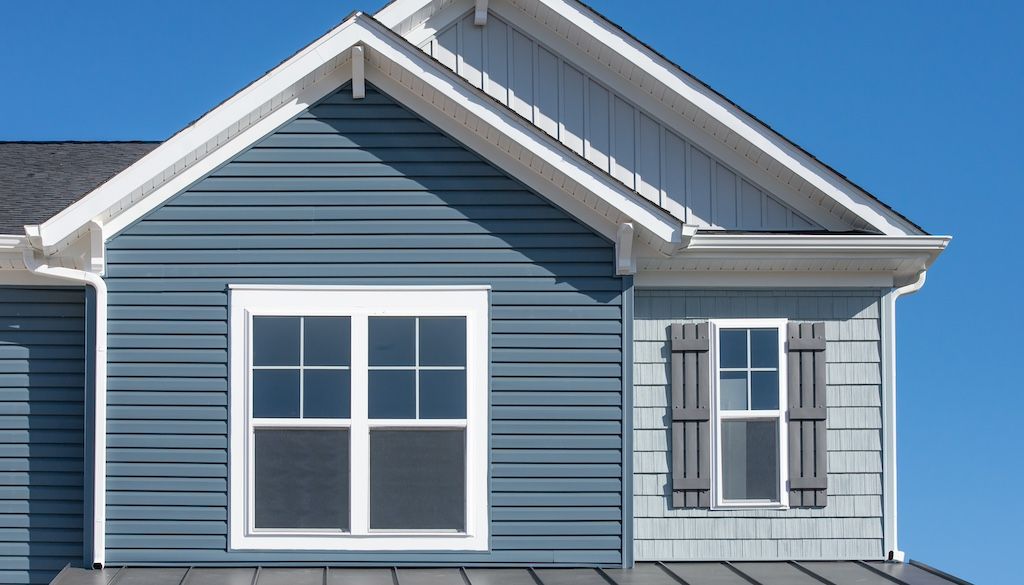
Window capping gives windows a sleek and polished look. The finished look depends on the capping material you choose, and there are a variety of styles to complement your home. The capping material itself comes in several different colors and styles.
For a more modern home, a metallic finish might be preferable, while older homes often look best with a simple cap finish.
Do you plan to install siding at the same time you cap your windows? If so, it’s usually best to cap the windows before installing siding. Chat with your contractor for more guidance.
Tell us what you’re looking for and we’ll show you pros right for the job, with prices.