- Measuring tape
- Power drill
- Socket wrench
- Flathead and Phillips screwdriver
- Staple remover for pool table’s felt
- Staple gun
- Carpenter’s level
- Moving straps
- Bubble wrap or moving blankets
- Ziplock bags and markers
- Moving truck or van (if you’re moving to another location)
- Lifting straps (optional)
- Manufacturer’s instructions (optional, but when disassembling and reassembling, it’s best to do so in the correct order)
Step 1: Plan and prepare.
Planning and preparation are critical here. Pool tables are heavy and involve a lot of bolts, screws and staples. Follow each step for an easier move:
- Have your pool table equipment ready. Make sure you have everything that’s listed above.
- Take measurements. Before you even begin to look into moving a pool table on your own vs. hiring a professional company to move your pool table, you’ll want to make sure you understand a few things about your pool table first. What’s the size of the pool table? Pool tables can range from 6 to 12-feet long, but the standard is 9-feet long. If you don’t know your pool table’s dimensions, measure them.
- Scope out your route. You should also take measurements of door frames, and identify any stairs you’ll have to navigate when moving your pool table. Take note of any obstacles that may make it difficult to reassemble the pool table in your new home.
- How many slates are there? There are typically one or three pieces. It’s good to know this before you start disassembling and moving your pool table.
- Enlist a few friends. It’s unlikely that you’ll be able to move your pool table completely by yourself. Ask a friend or two to help you out. If you can’t convince your friends to lend a helping hand, hire a professional pool table moving service instead.
- Set aside a few hours. Take your time when moving your pool table to avoid damage and injuries.
Step 2: Disassemble your pool table.

Pockets.
If you do not have the manufacturer’s instructions, disassemble the pool table from the top down. Start with the ball pockets, which are typically attached with screws to the table frame. If you’re using a power drill, do not strip the screws. Using a screwdriver is recommended.
Once removed, put the hardware into marked Ziplock bags for reassembly in your new home.
Rails.
Next, you’ll want to remove the rails, which are typically attached with bolts. Use your socket wrench to carefully remove the bolts. Once the bolts are removed, you should be able to lift the rails from the table frame. Use a marker to identify each rail on the bottom, non-visible side so you can put it back in the same location when you reassemble your pool table. Sometimes, changing rail locations can slightly alter the pool table when it’s put back together.
Just as with the pocket hardware, label the rail hardware and set it aside in Ziplock bags.
Felt.
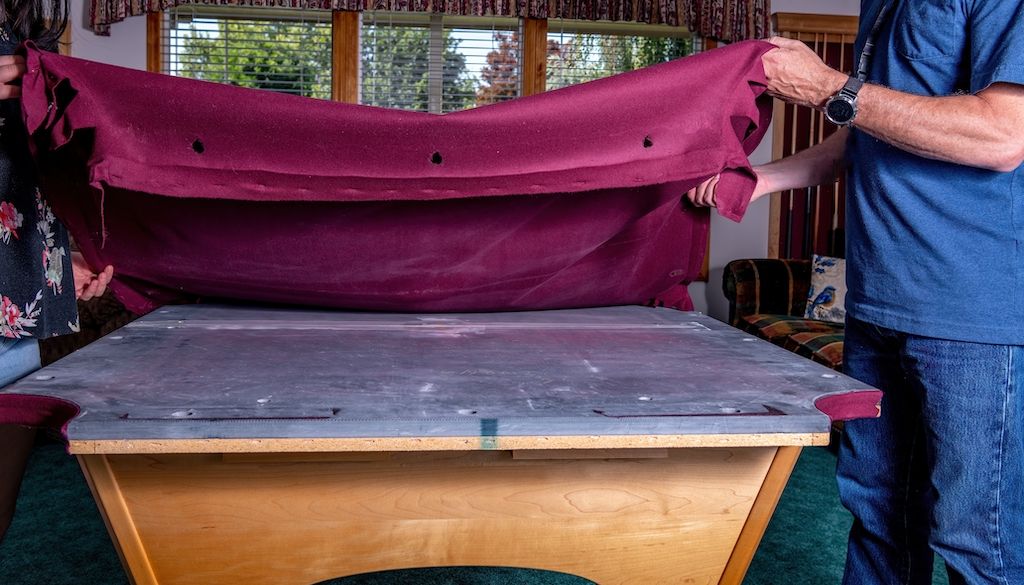
Use your staple remover to carefully remove staples from the felt. Go slowly to avoid damaging the felt. Once all the staples are removed, remove the felt and set it aside. Be sure to place the felt somewhere where it won’t get damaged.
Slate.
Slates are heavy, so this is where you’ll probably need the most help. One-piece slates can weigh up to 450 pounds, so don’t try to lift them yourself.
First, unscrew the slate from the frame. Get a friend to help you lift and set aside the slate. Many three-piece slate tables use beeswax or putty to bind the slate together. If this is the case, you should be able to pull them apart with a little force, or use a flathead screwdriver to loosen and separate the slate. Mark the slate (like you did the rails) so that the pieces can be put back in the same order when reassembling. Also, place the hardware in a Ziplock bag.
When moving the pool table slate, stack each piece on top of each other with nothing in between. This will limit chipping or cracking during the move. You can put moving blankets on top of it and strap the slate down to limit sliding or shifting during the move.
Legs and frame.
Finally, remove the legs from the frame. Sometimes, you can leave the legs attached to the frame if the frame can comfortably fit inside your moving truck. If you do remove the legs, just as you’ve done with the other hardware, label and place them into bags.
Step 3: Load the pool table parts into your vehicle.
Wrap your rails in moving blankets or bubble wrap. Then, load the slate into the vehicle. Make sure the area is free from debris before you lay the slate down. You can place a piece of plywood down first, or you can cover the slate with blankets for protection.
Use moving straps to pin the slate down tightly to the bed of the vehicle. You can then load the frame, legs, rails, pockets and hardware. Strap down what you can to minimize movement during the trip, prioritizing the slate and the base to ensure the pieces that will keep the table level are not damaged.
Step 4: Reassemble your pool table.
Reassembling a pool table can also take some time, and you’ll want to make sure you go slowly and carefully to ensure the playability of the table remains in good condition once it’s put back together.
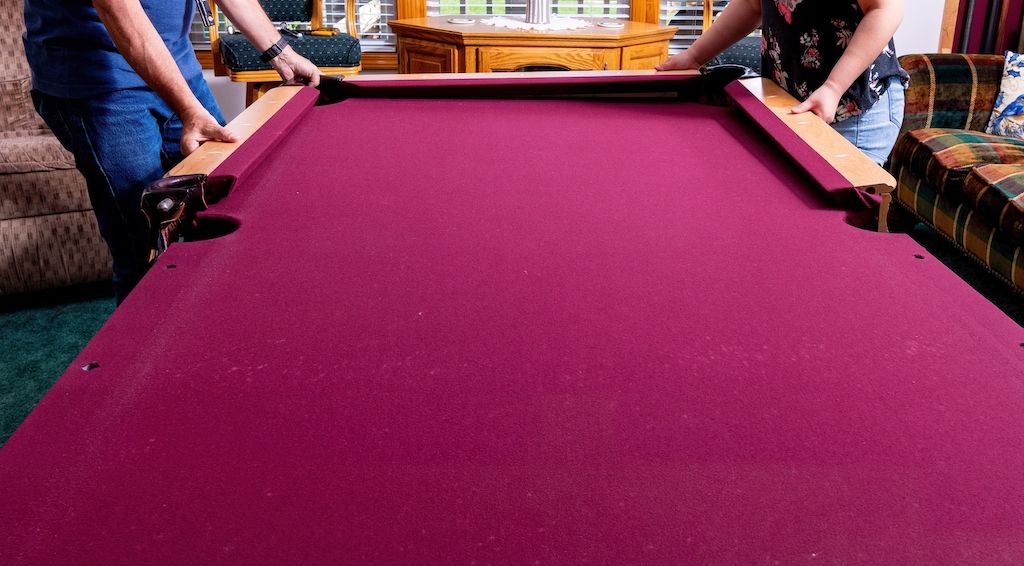
Reassembling the table works in reverse order from disassembling. Set up the base first, then add the slate back on in the same orientation as it was when you removed it from the table. Then, re-felt the table and add the rails and pockets back on, making sure to use the same hardware that you’ve set aside for each portion of the process.
One important aspect of reassembling your pool table: use your carpenter’s level and make sure each portion of the table is balanced when putting the table back together. This includes the base, again with the slate, and once the felt has been reapplied.
Again, you should always consult your manufacturer’s instructions when available. If you don’t have a physical copy, search online. Some manufacturers upload their instructions so customers can easily access them when moving their pool tables.
DIY vs. hiring a professional pool table mover.
 Physically moving a pool table (and making sure nothing gets damaged in the process) is tough. And reassembling it while making sure everything is level can be even more difficult. These are two big reasons why you may want to hire a professional to move your pool table instead of DIY.
Below, we lay out more pros and cons for each option to help you decide which one is right for you:
| | Doing it yourself | Hiring a professional |
Pros | - Cheaper/save money
- Flexible moving timeline
| - Many companies will professionally reassemble & level the frame and slate at new location
- Have peace of mind
- Don’t have to spend money on moving equipment
- Done more quickly and efficiently
|
Cons | - Risk of damaging table and/or walls and door frames
- Risk of injuring yourself
- Difficult to reassemble & level correctly
- May have to spend money on moving equipment & tools
- May take longer to complete
| - Can be expensive for some people
- Have to work within the pro’s availability and schedule
- More rigid moving timeline
|
How much do professional pool table moving services cost?
Typically, you can expect to pay several hundred dollars to hire a professional to move your pool table. The total cost will depend on local rates and many other factors.
Some pros may charge a fixed or flat fee, while others may charge by the hour. When contacting professionals near you, be sure to ask them how they set their rates. You should also find out if any of these common factors could impact the price:
- The distance from Point A to Point B.
- Pool table size, dimensions and make.
- Whether your table has a ball return system.
- Your pool table’s condition or position.
- Any additional services, such as adding new felt to your table or making pool table repairs.
To ensure you pay a fair price, aim to get at least three different quotes from three moving services near you. Compare them, read the companies’ reviews and make a decision on who to hire.