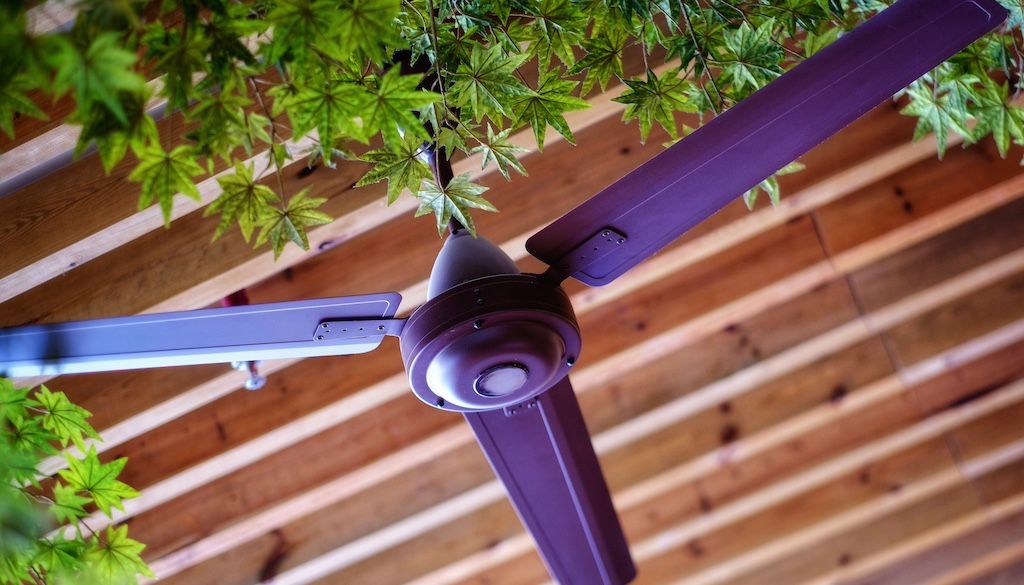
What is a ceiling fan box remodel?
A ceiling fan box is the mount for your ceiling fan that locks it securely in place. If the box is loose or faulty, some attention is needed to make your fan stable and fully functional.
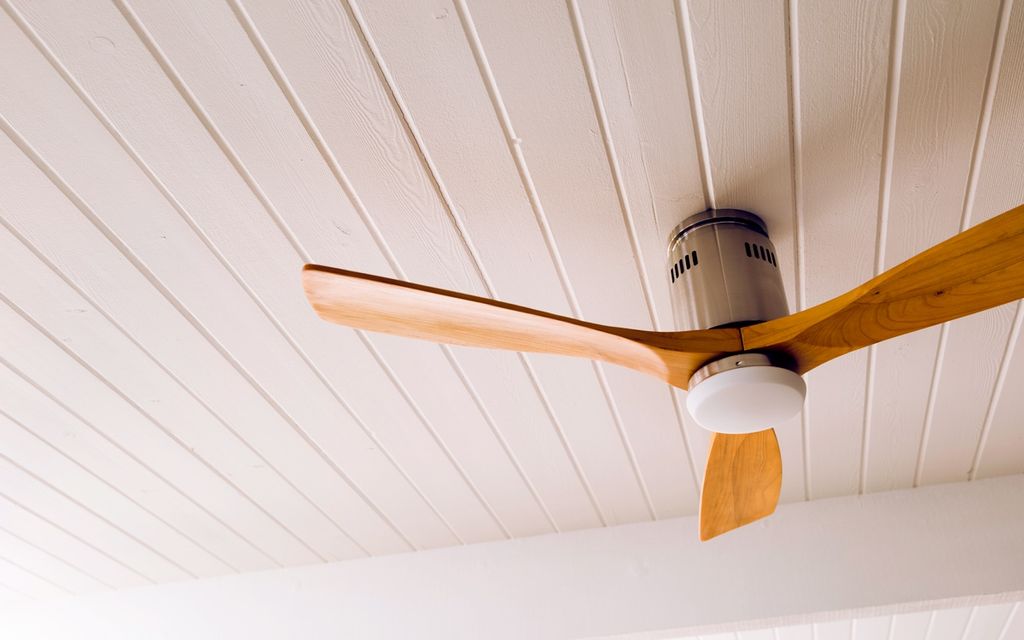
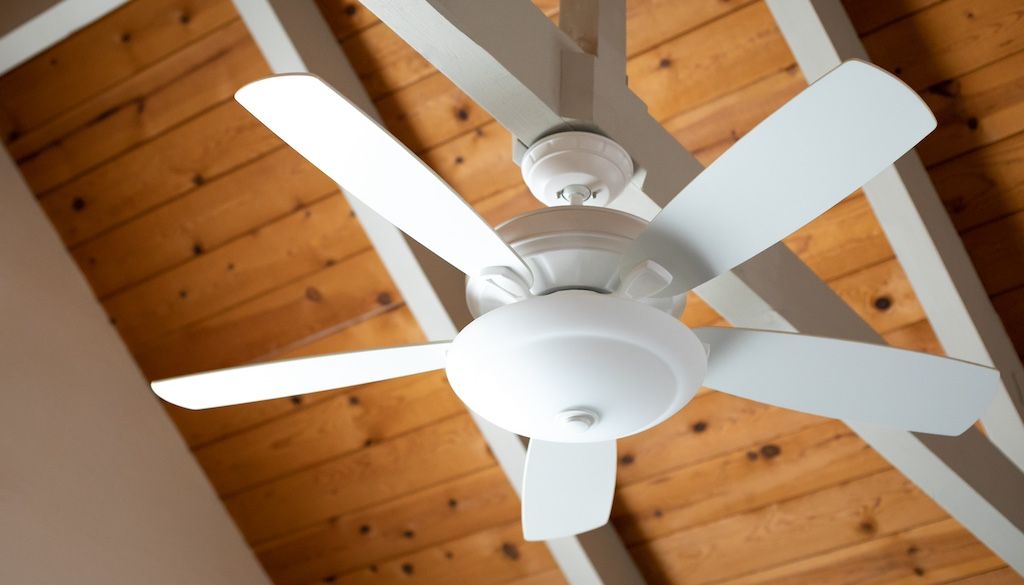
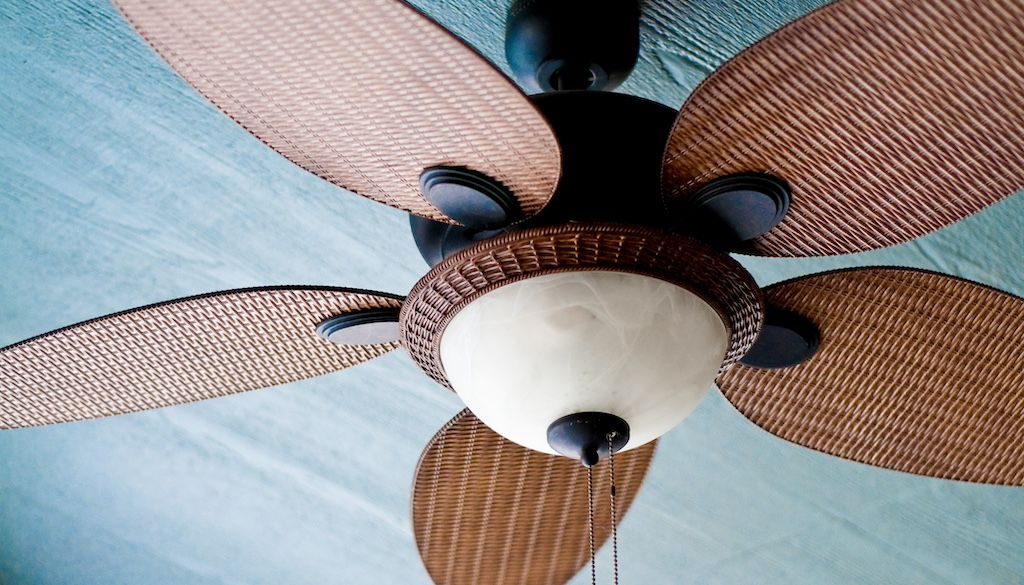
When remodeling a ceiling fan box, you might consider replacing it with a new one. However, remodeling a ceiling fan can also mean making more minor updates. For example, consider updating the blades or light fixtures.
Benefits of remodeling your ceiling fan box.
 Here's what motivated us to remodel our ceiling box fan:
- Improved stability. Our old ceiling fan boxes were loose. The blades did more wobbling than spinning, resulting in less airflow and a loud, annoying noise.
- Enhanced functionality and integrated wiring options. We wanted a ceiling fan that was more effective and efficient at cooling. And we wanted a ceiling fan box that could integrate with a remote, smart app, wall, or voice control. Integrated wiring options were non-negotiable for us.
- Good for your wallet and the environment. Ceiling fans use less electricity, especially those with a good Energy Star rating. They can be a more sustainable option, so we upgraded to a more energy-efficient model.
- Aesthetics. Beauty is in the eye of the beholder. But this beholder did not find the old, outdated, bulky fans aesthetically pleasing.
If these benefits sound appealing, consider tackling this project yourself or hiring a professional to do it for you.
How much does a ceiling fan box remodel cost?
Let's dive into how much you can expect to pay for a ceiling fan box remodel. Different sources (and professionals) will give you different estimates. Here are a few factors that play into how much it will cost to remodel your ceiling fan box:
- Ceiling fan unit
- Ceiling fan accessories (controls, remotes and receivers)
- Extended downrod
- Angled ceiling mount (if needed)
- Electrician labor (if required)
The best way to get an accurate estimate for your unique project is to ask a professional near you for free estimates. You can also let them know your budget, and they can figure out how to make that work.
Compare prices from fan installers near you.
Please enter a valid zip code
What are the steps involved in a ceiling fan box remodel?
 Whether you DIY or hire a professional, it's good to understand how to remove your old ceiling fan box and install a new one. Here is how it's done:
Step 1: Remove the old fan.
- Ensure that the power supply to the ceiling fan is turned off at the breaker box.
- Remove bulbs, glassware, or ceiling cover from the light fixture.
- For fans with midbody plates installed directly to the fan's motor box, unscrew and remove them.
- Remove the canopy.
- Take a picture of the wiring. This will make it easier to reconnect upon reinstallation.
- Disconnect the wiring.
- Remove the "hanger ball" from the downrod.
- Lift the entire unit and dislodge it from the nesting position.
Step 2: Check your ceiling fan box.
- Verify that your ceiling fan box is up to code. If it isn't, replace it with one that is. It should be an ETL or UL-listed ceiling fan box.
- See that the ceiling fan box can support the new fan's weight. The box will be marked with the weight it is rated to hold.
- Ensure that the ceiling fan box is mounted correctly.
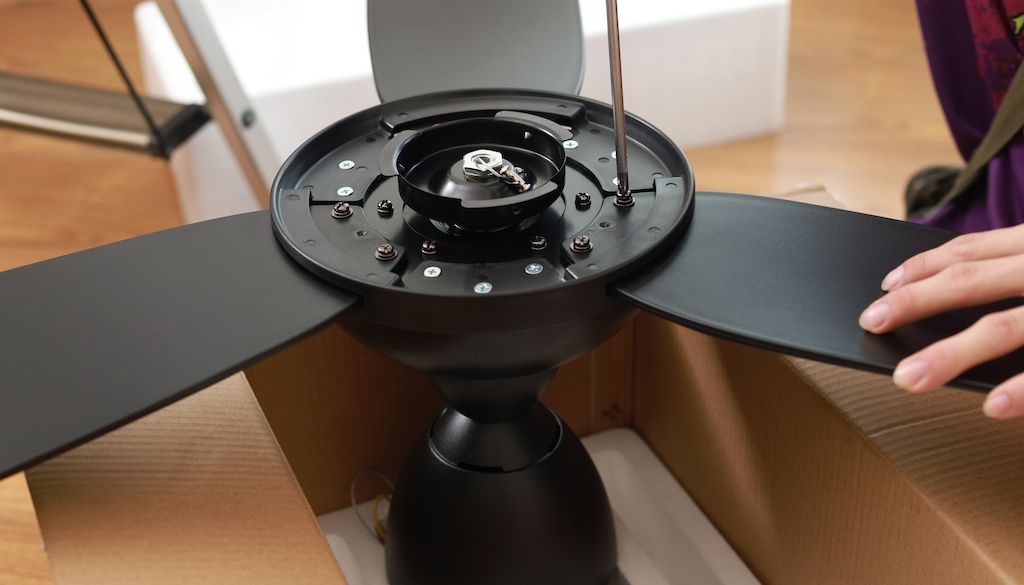
Step 3: Hang the fan.
- Install the ceiling bracket.
- Lift the fan unit back into position. This may be a two-person job, depending on how heavy the fan is.
- Replace the "hanger ball" with the downrod, or install a new one if this is an upgrade.
- Reconnect the wiring. Consult the picture you took if needed.
- Replace the canopy.
- Install the blades.
- Reinstall the bulbs, glassware, or ceiling cover for the light fixture.
- Turn the power supply back on.
DIY vs. hiring a pro to install your new ceiling fan box.
Installing a new ceiling fan box is a DIY project. It's especially doable if you have experience tackling electrical wiring projects.
However, hiring a pro for this project is best if:
- You don't have all the tools (pliers, wrench, screwdriver, etc.) on hand. It's worth buying the supplies if you plan to do more home projects in the future. Purchasing new tools may be a waste of money if you don't plan to do more DIY tasks.
- You're unfamiliar with electrical wires. Working with wires always carries risks. If you're worried about safety, hire a pro.
- You're a novice DIY-er. Only tackle this project if you're intermediate or advanced in DIY projects.
More ways to update your ceiling fan.
 If you want to avoid installing a new ceiling fan box, there are more ways to update and modernize your fan. For example, consider:
- Replacing the blades. Buy new blades, and replace them. This is a much simpler DIY task — it just requires a screwdriver and step stool.
- Painting the blades. Instead of replacing your existing blades, consider spray painting them in the color of your choice. Choose darker shades for a more modern, edgy, or elegant look.
- Attaching a new light fixture. You can find ceiling fan light kits at various home improvement stores. Choose a fixture that matches the style you're envisioning for your room.
Find the right professional on Thumbtack.
If all of this seems a bit much, and you're even vaguely skeptical about your electrical prowess, it's a good idea to hire a top-rated pro to do the job for you. Download the Thumbtack app and get free estimates for your ceiling fan project.
On Thumbtack, you can find the following pros: